Monday, February 25, 2013

Risotto with Mascarpone & Prosciutto

I have actually never made risotto before so this was a first shot shop. This recipe was adapted from the March Edition of Food Network Magazine, one of my favorites. The prosciutto looked so cool that I just had to give it a try. 

*Note - this is an easy recipe, but it's labor intensive. Don't plan to leave your kitchen until its ready to be served.

Ingredients:
3 cups low-sodium chicken broth
4 ounces prosciutto, thinly sliced
4 tablespoons unsalted butter
1/2 cup finely chopped shallots
1 cup orzo pasta
1/3 cup white cooking wine
3 tablespoons minced fresh parsley
3 tablespoons minced fresh chives
1 1/2 teaspoons minced thyme
1 cup grated mozarella cheese
1/3 cup mascarpone cheese

Preheat the oven to 400 degrees F. Bring the chicken broth and 2 1/2 cups water to a simmer in a saucepan over medium heat; cover and keep warm. Meanwhile, arrange the prosciutto in a single layer on a foil-lined baking sheet. Bake until crisp, 8 to 10 minutes; set aside. When it comes out it will look like a tangled layer of bacon (see below) and it will be salty deliciousness.


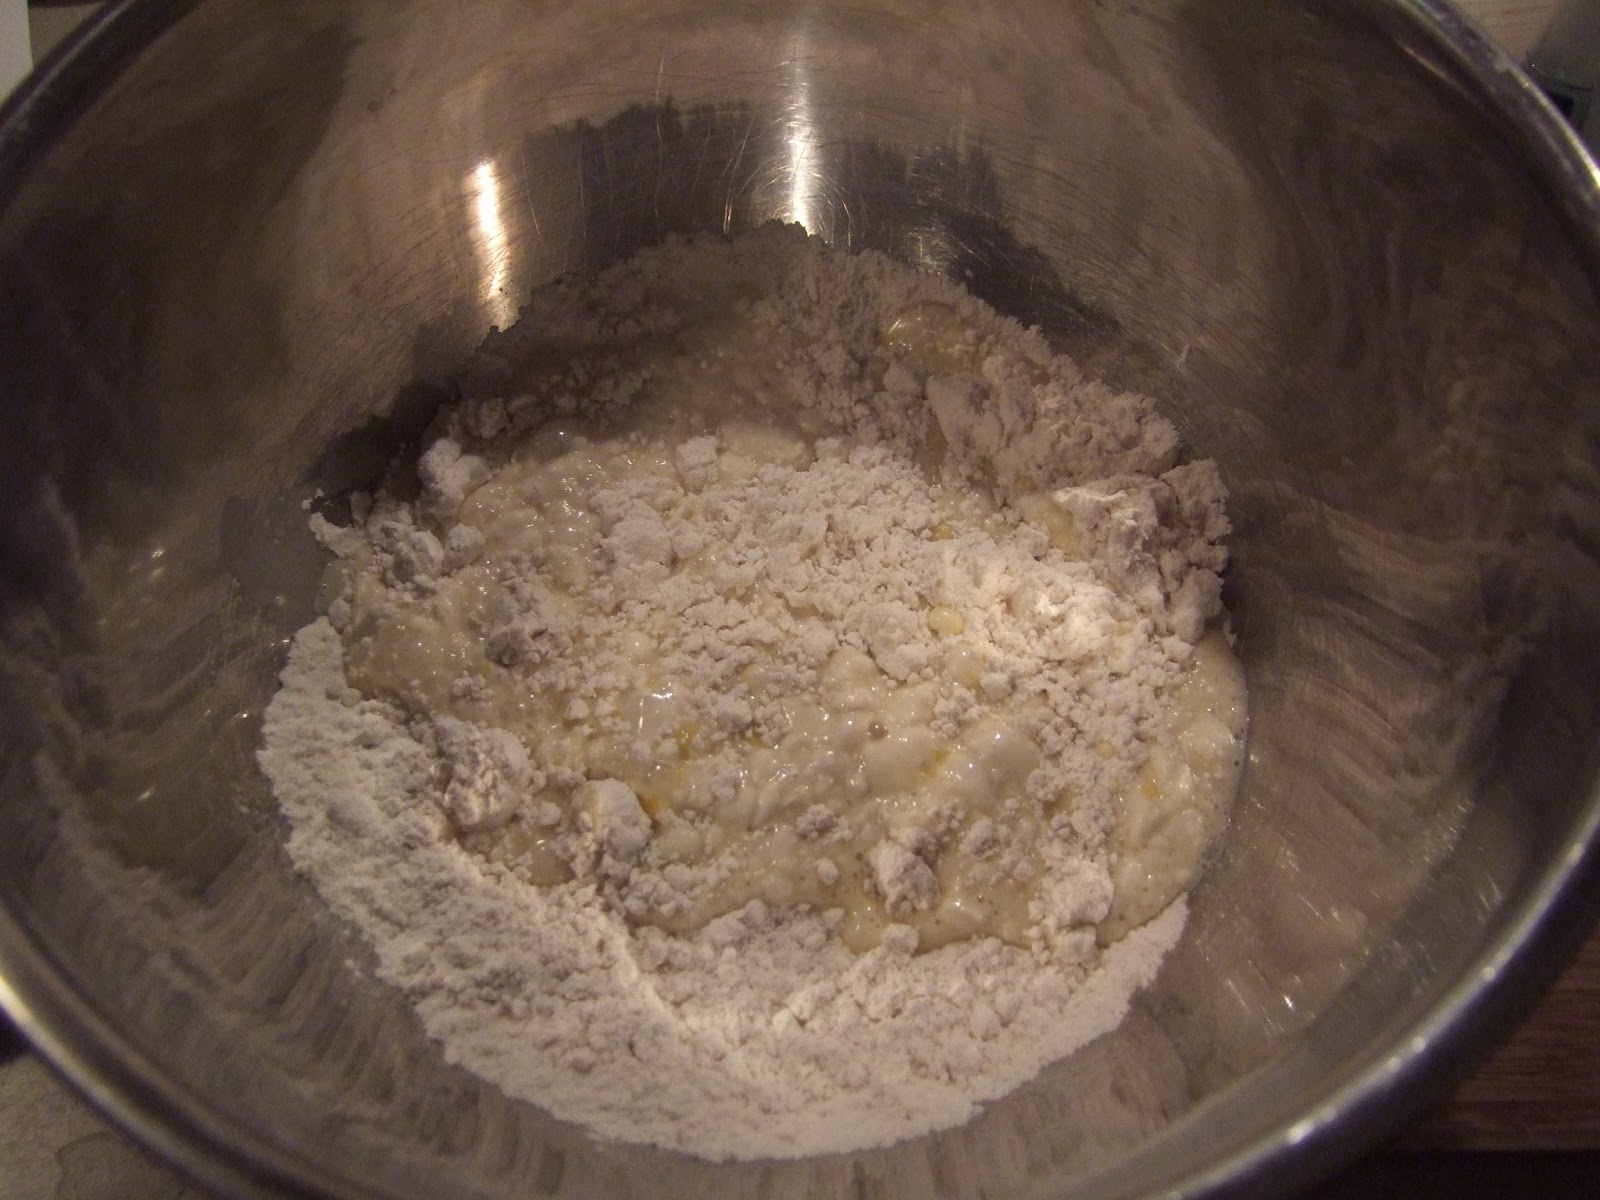
Heat 2 tablespoons butter in a large saucepan over medium heat. Add the shallots and cook, stirring with a wooden spoon, until soft, 3 minutes. Add the rice and cook, stirring, 2 more minutes. Add the wine and cook, stirring, until evaporated, about 2 minutes. 


Add 1/2 cup warm broth and stir constantly until absorbed. Repeat, adding the broth in 1/2-cup increments and stirring constantly, until the liquid is absorbed and the rice is just tender and creamy, 20 to 25 minutes. Remove from the heat.


Combine the parsley, chives and marjoram in a bowl. 


Add all but 1 tablespoon of the herbs to the risotto along with the mozarella, mascarpone and the remaining 2 tablespoons butter; stir vigorously until creamy, about 1 minute. 


Break the prosciutto into pieces. Divide the risotto among bowls and top with the prosciutto and reserved herbs.


Beautiful. :)

Friday, February 22, 2013

50 Shades of... what now?

I'm all for parodies. Especially funny ones that are spinnoffs of ridiculously sexy pop culture books...

But we're not here to talk about that. We're here to talk about BACON. Yup, that's right. Had you fooled, didn't I?

Meet your next cookbook purchase. 


No, I'm not joking. This is a real book. With real recipes. From a real website

Terribly witty with a table of contents that will make any chef blush... I highly recommend picking up a copy of this book. Or similiar books such as 50 Shades of Chicken, and 50 Shames of Earl Grey. Especially if you love bacon. I know I do.

Monday, February 11, 2013

Loaded Potato Soup (in the crock pot!)

 When a blizzard hits, what do you do? Hit the crock pot and hope the power doesn't go out.

The beauty of this meal is that the soup is so simple that you can make everyone happy by letting them load it up with anything they want. Perfect for a large crowd, or if you're like me, and have nothing but picky eaters.

Ingredients

7C potatoes (or roughly 6 medium)
1C yellow onion
3 cloves garlic
3C chicken or beef stock
1 1/2 tsp salt
1 tsp ground pepper
1C whole milk
4 slices thick cut bacon
Toppings of your choice. I used sharp cheddar, sour cream, scallions, bacon and hot sauce - Frank's to be exact. I put that sh*t on everything.

Peel your potatoes and chop into small chunks, roughly 1" in size.


Chop your onions and mince the garlic. Add all of your vegetables to the slow cooker bowl. Sprinkle with salt and pepper. Pour in your stock. Cover and cook on high for 3 1/2 hours (or low 6).


After you toss everything in, make your bacon.  Blot with paper towels so it stays crispy. Add any remaining bacon grease to slow cooker. Be careful when pouring your grease in... since you only just put your veggies in your cooker the grease is hotter than anything else and can splatter. Stir gently and replace cover. Chop bacon, set aside.


Remove 1/3-1/2 of the potato chunks to a blender with whole milk. Blend until smooth. Have I mentioned how much I LOVE my Ninja? Seriously... everytime I turn it on I feel like doing karate moves around my kitchen yelling HI YA!


Beautiful.

Return your now smooth potatoes to your cooker, stir and cover, continue cooking for an additional 30 minutes.


Seriously. See how smooth that is? GEEZE.


When you're ready to eat, set out a toppings bar. This is why I say it would be good for a crowd. I had all of those beautiful toppings and my boring other half had 2 out of the 5. The soup is pretty plan by itself, but it's thick and filling. 


Go nuts. And don't forget the Frank's!

Sunday, February 10, 2013

Coconut Macaroons


Real Simple. No, really, the recipe is from Real Simple Magazine. One of my favorites. My mom renews my subscription every year for Christmas. Some of their issues are totally awesome. Did I mention I love this magazine? 

Update: 24 servings - 1 WW points plus each... WOW

Ingredients:

3 large egg whites
1/2 cup sugar
1/2 teaspoon pure vanilla extract
1/4 teaspoon kosher salt
1 14 ounce package sweetened shredded coconut

Preheat oven to 325. Line 2 baking sheets with parchment (I used foil).


Whisk together the egg whites, sugar, vanilla, and salt in a medium bowl until glossy and the sugar is almost dissolved.


Use an ice cream scoop, drop the batter in mounds (about 2 tablespoons each) 1 inch apart on the prepared baking sheets.


Bake, rotating the sheets halfway through, until golden brown. I baked 25 minutes and rotated after 10.

Let them cool completely.


These will keep for up to 5 days at room temperature in an airtight container.

Been awhile since the finished product actually looks like what's in the magazine. Yahoo for success!!


Thursday, February 7, 2013

Snowmageddon

... are you ready?

Hmmm... holed up for 48 hours with a 3 year old makes me think, what could we do to occupy ourselves (i.e. not drive mommy off the deep end)?

We could bake. 

We could craft.

We could watch movies.

So... on my list this evening are a plethora of errands with the rest of New England to stock up for the impending storm in order to keep myself busy enough that I won't go all Jack Nicholson on my family. Obviously... I would never do that, but, being home without no choice to leave would give anyone cabin fever.

Step 1.


Step 2. Pinterest is just necessary too. I mean really... where else would creative, time and $$ consuming activities come from?


Step 3. Humor.  Yes.


How will you survive? Suggestions welcome. Stay safe!

Saturday, February 2, 2013

Cream Cheese Coffee Cake

You know those Entenmann's breakfast cakes that are like... super expensive but you buy them anyway because they're easy and so flippin' delicious? This is kind of like that. But more of it. This recipe was adapted from a blog called Just Baked (one of my favorites).
 
Ingredients:

For the filling:
2 8 oz packaged cream cheese (I used light)
1/2 cup sugar
1 teaspoon vanilla extract
1 large egg 
 
For the cake:
3 cups flour
1 teaspoon baking powder
1/2 teaspoon bakin soda
1/2 teaspoon salt
1/2 cup (1 stick) unsalted butter, softened
1 cup sugar
4 large eggs
1 teaspoon vanilla extract
1 cup sour cream (I used light, but, use regular and your cake will come out less dry than mine)
 
For the streusel topping:
1/4 cup sugar
1/4 cup flour
3 tablespoons butter, chilled and cubed (make sure its chilled because it will make it easier to get the consistency you want for your topping)
 
For the glaze:
1/4 cup confectioners' sugar
1 1/2 teaspoons milk
 
Preheat your oven to 350.
 
Grease a 9x13 lasagna/cake pan and set it aside.
 
Make the filling: Mix together the cream cheese, sugar, egg and vanilla on medium-low speed with a mixer until its nice and creamy.


In a medium bowl, stir together flour, baking powder, baking soda and salt, stirring until well combined. Put this one aside too.


Now, in a big bowl, with your electric mixer cream together the butter and sugar on medium-low speed.


Add the eggs one at a time. Add the vanilla.


Slowly... pour in the flour mixture alternating with the sour cream until it's well combined.


Spread half of the cake mixture in the pan. Followed by the filling. Then the other half of the cake mixture.


Using a spatula or butter knife swirl through the cake just to mix it up a bit.


Now... for the streusel topping. Add the sugar, flour and chilled butter in a small bowl. I used a pastry tool to mix but you want to mix until its crumbly. Use your hands if you don't have the tools or a pastry mixer.


See? Crumbly. My butter could have been a bit more chilled. Things would have stuck together easier.


Cover the cake with your streusel.


Bake for 40-45 and cool on a rack. When it's cool enough make your glaze by combining your powdered sugar and milk. You may not think the milk will be enough, but trust me, it is. Drizzle it over your cake, and there you go! Breakfast for a week. Or a large crowd. Or a hungry pregnant lady. Whichever.


Next up... coconut macaroons. :)

Friday, February 1, 2013

Lemon Raspberry Muffins

Muffins you can throw in the freezer but microwave to taste fresh? Um... yes, please!! 

Cooking.com is a new favorite of mine. I usually get emails with recipes trying to sell me the products to go with them. Lucky for me... I own a lot of 'em. 

Ingredients:

1 lemon
1/2 cup sugar
1 cup nonfat buttermilk (I did not have buttermilk, so, use 1 cup milk, 1 T lemon juice)
1/3 cup canola oil (I used vegetable oil)
1 large egg
1 teaspoon vanilla extract
2 cups all purpose flour
2 teaspoons baking powder
1 teaspoon baking soda
1/4 teaspoon salt
1 1/2 cups fresh or frozen (not thawed) raspberries

Preheat oven to 400 degrees F. Coat 12 large (1/2-cup) muffin cups with cooking spray or line with paper liners.

Use a vegetable peeler to remove the zest from the lemon in long strips.


Combine the zest and sugar in a food processor; pulse until the zest is very finely chopped into the sugar. Man I love my Ninja.


 Add buttermilk, oil, egg and vanilla and pulse until blended. Seriously. LOVE my Ninja. I <3 the single serving size for smoothies. Oh yes, I do.

 
Combine flour, baking powder, baking soda and salt in a large bowl. Add the buttermilk mixture and fold until almost blended.


Gently fold in raspberries. 
 

Divide the batter among the muffin cups. Bake the muffins until the edges and tops are golden, 20 to 25 minutes.


Let cool in the pan for 5 minutes before turning out onto a wire rack. Serve warm.


Now... if you want to freeze them.... wrap in plastic wrap and seal in a plastic bag. When you're ready for one unwrap it from the plastic, put it in a paper towel, and microwave for 30 seconds. Good way not to waste your excess...

Parmesan Crusted Salmon

Oh. Baby. 

This salmon had so much flavor I didn't know what to do with myself! I am not a huge seafood person but I needed to try something new and different. Mayo? Check. Cheese? Check. Um... oven roasted fish? Double check.

Ingredients:
  • 1 1/2 to 2 pounds salmon, boneless, skin still on
  • Kosher salt/ freshly ground black pepper
  • 3T Olive oil mayonnaise
  • 2T plus 1T Parmesan cheese (freshly grated)
  • a few dashes of sweet paprika
Preheat oven to 425. Wash the fish in ice cold water and pat dry with a paper towel.

Line a pan with foil and grease slightly. I always use Pam, but you can always make your own (2 part oil, 10 parts water). Mix  about 3 tablespoons of mayo with 2 tablespoons of parmesan. Use a spatula to cover your fish with the mayo mixture, then toss a bit more on top.  Press it in a little so it soaks into the mayo and fish. Sprinkle with a bit of paprika. Smoked is fine too if you want a more abrupt flavor.


I made a pear, parmesan and almond spinach salad. It was the perfect accomplice to the fish. Toss a little honey vinagrette on there, and voila! Cuisine. 


Roast your fish for about 20 minutes. I always get nervous cooking fish so I made SURE it was done. When you can stick a metal spatula between the skin and the meat, it's done. Your cheese should be a bit browned too. If you want it crisper toss on your broiler for 2-3 minutes befor eyou take it out.

When you take it off the foil make sure thatyou take the meat from the skin. If it's done it should sliiiiiiiiiiiiiiiiiiiiiiiiiiide right off.


Delicious. Enjoy!